Our Work · Custom Engraved
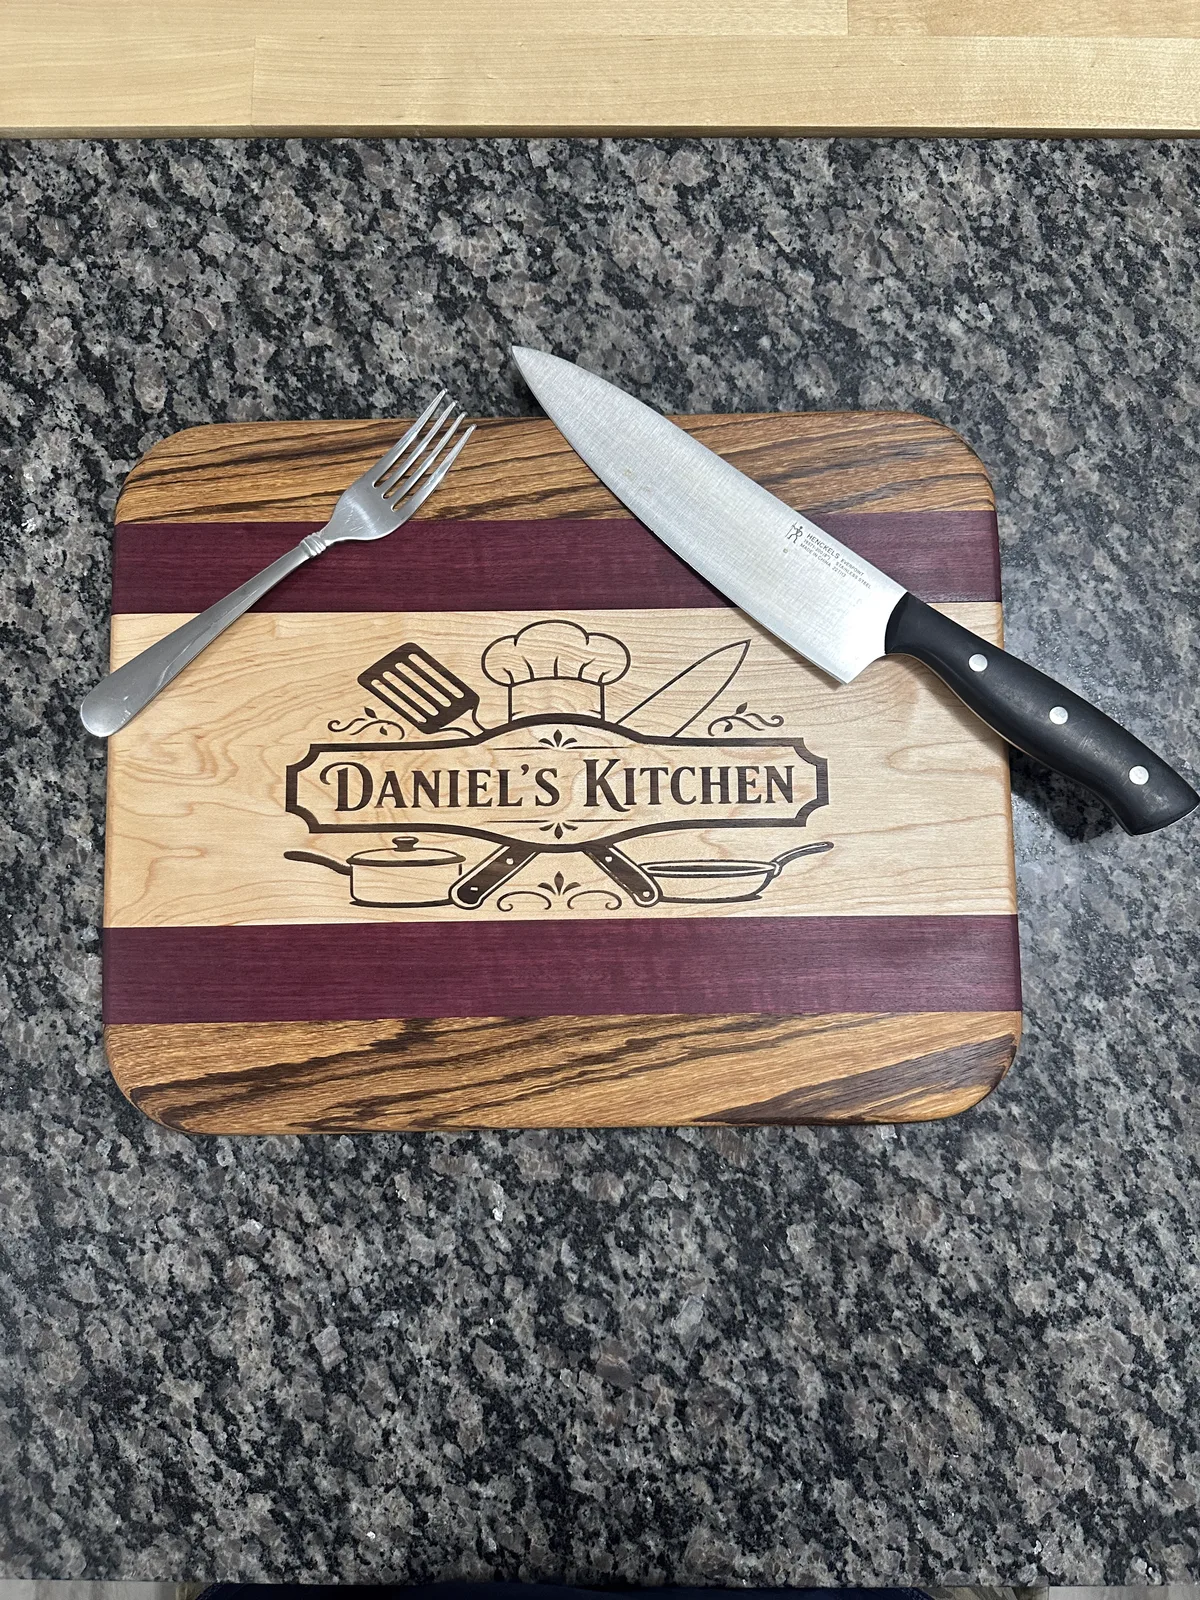
Purpleheart, Maple & Zebrawood Cutting Board
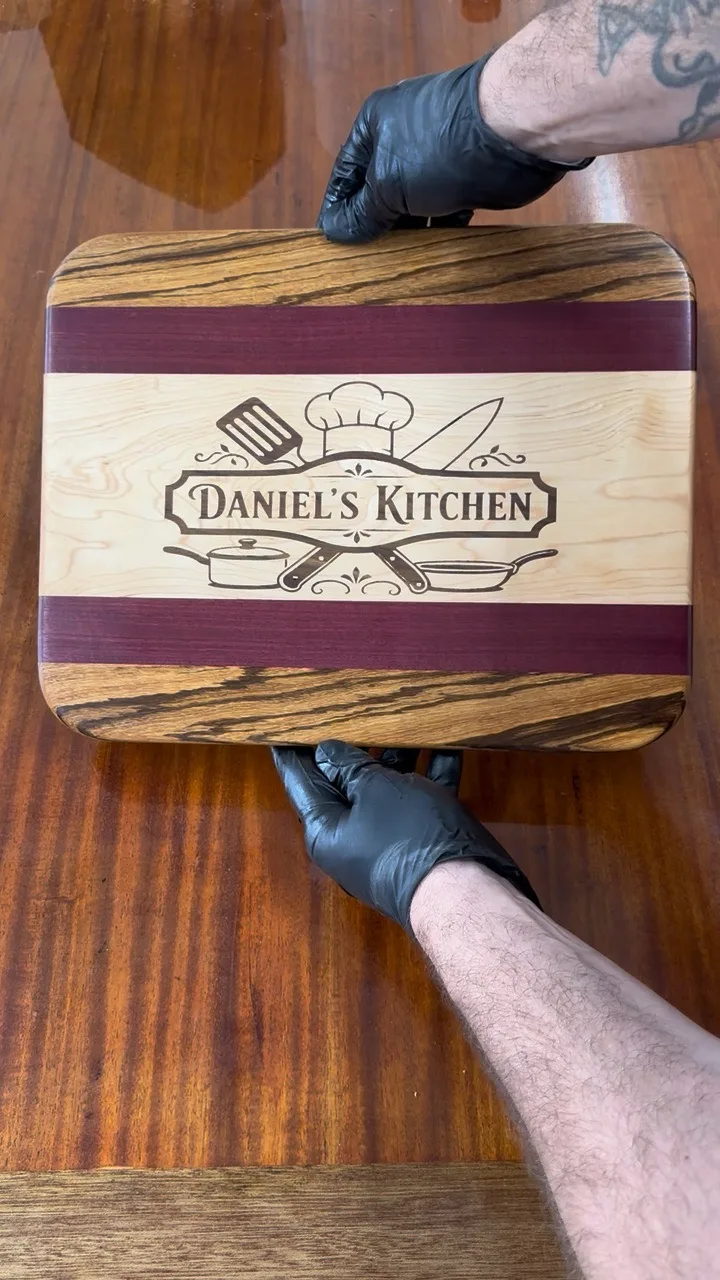
A cutting board built from contrasting hardwoods, with a walnut motif inlaid by CNC: the negative carved into the board, a matching plug carved from walnut, glued in, and sanded flush.
How It Was Made
From a stack of contrasting hardwoods to a board with an intricate inlay.
Notes from the bench, in Dan's own words.
Choosing the woods
I started by selecting pieces that would be contrasting and complementary, to give the board an interesting look. I wanted a large center section with a plain maple look to set off the inlay, and I picked woods that are fairly tightly grained so not too much food gets into them when you cut. You want a cutting-board-appropriate grain.
Milling and glue-up
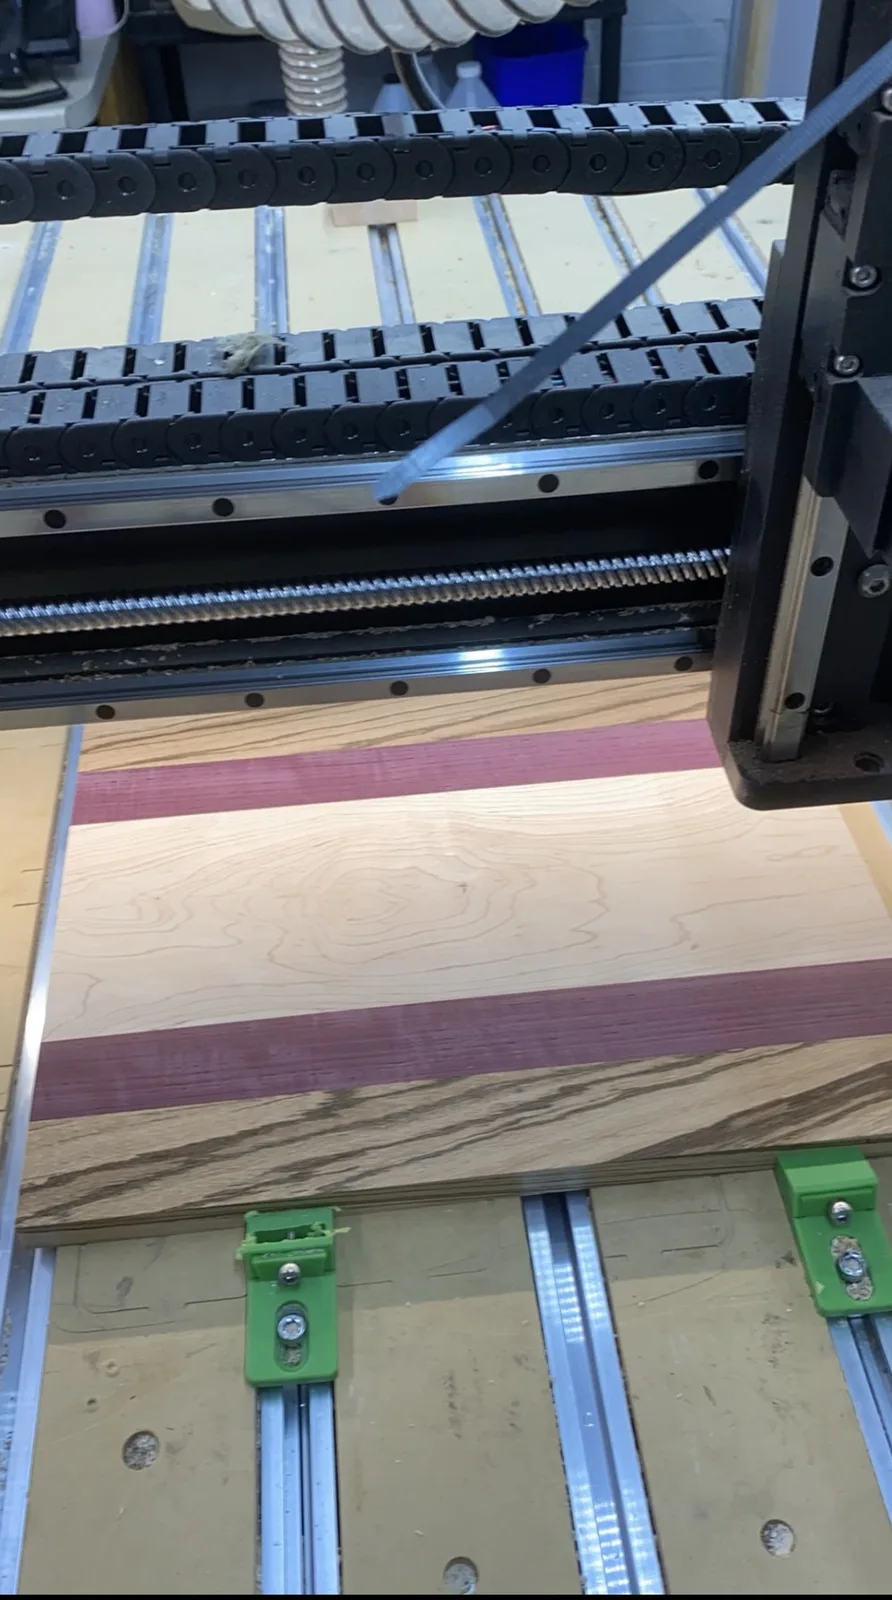
Then I milled all the wood, glued it together, and created the base board. I planed it, milled it, and sanded it to dimension, until it was ready for the inlay.
CNC: carving the negative
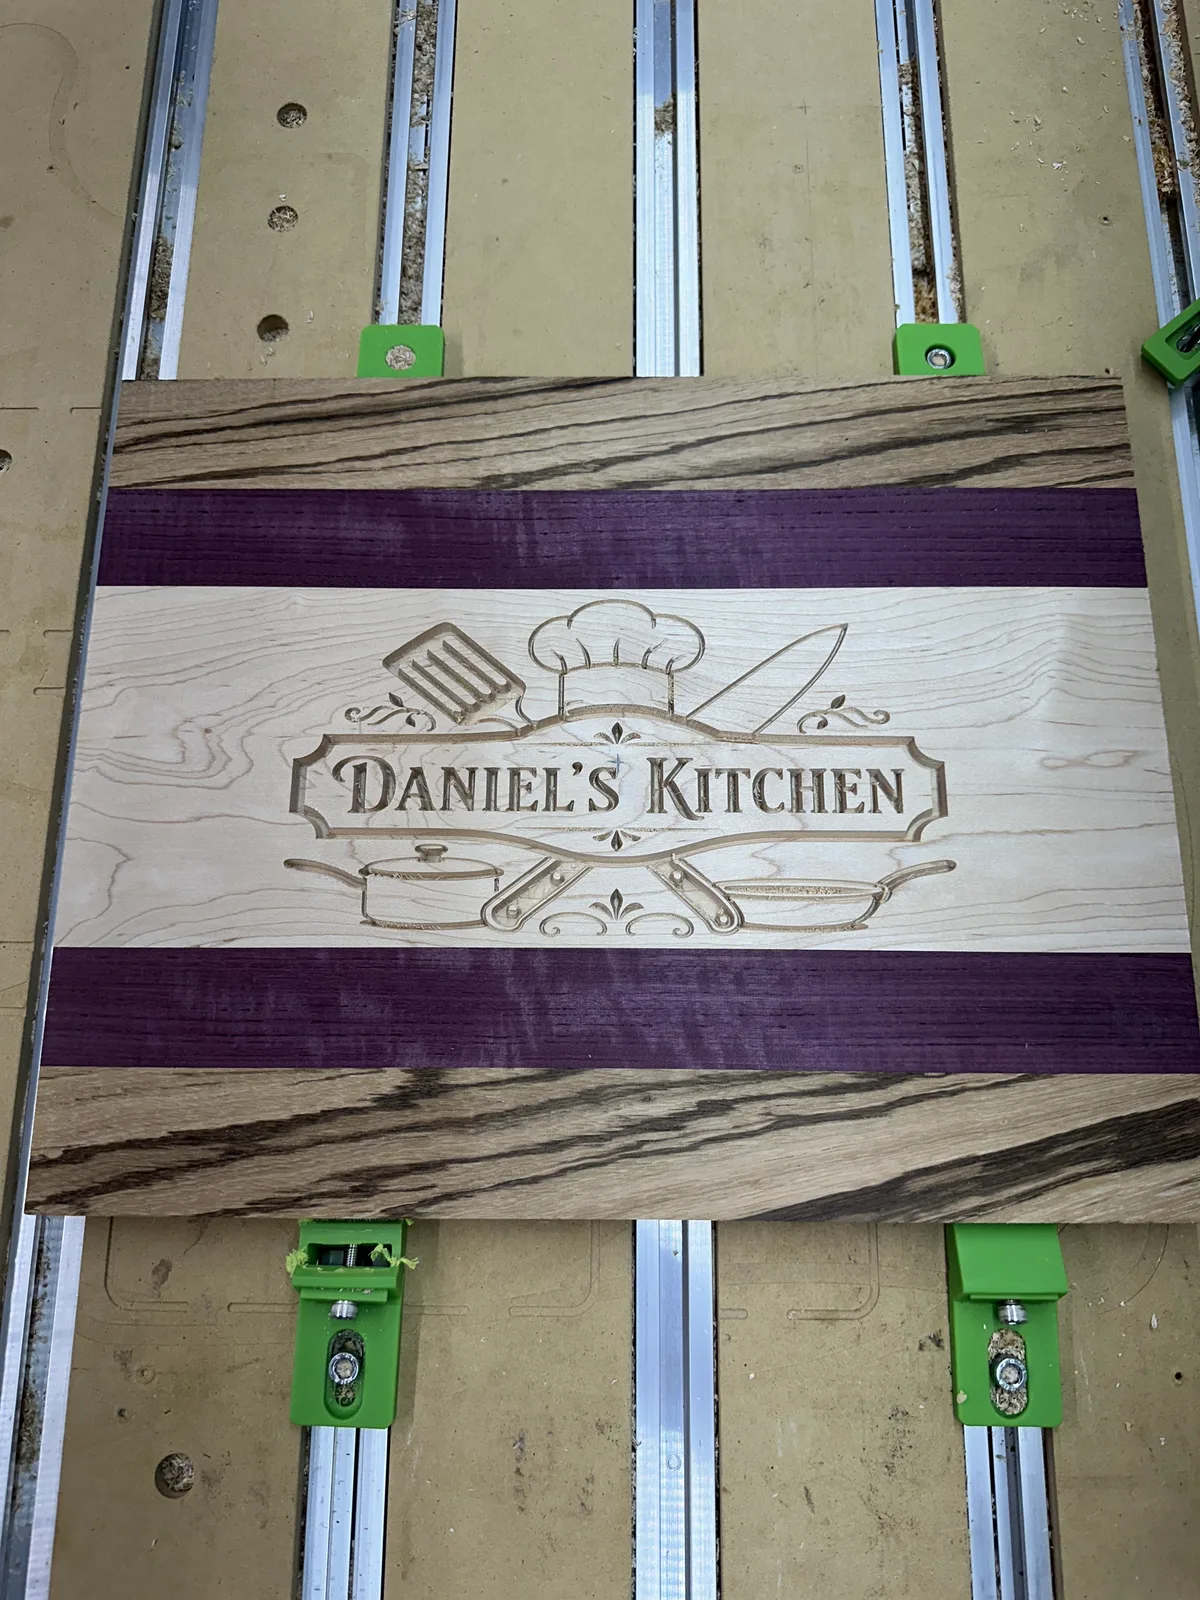
Once it was ready, I went to the computer and designed what I wanted inlaid. I put the main board into the CNC machine, and it cuts the negative first, right into the board.
CNC: carving the walnut plug
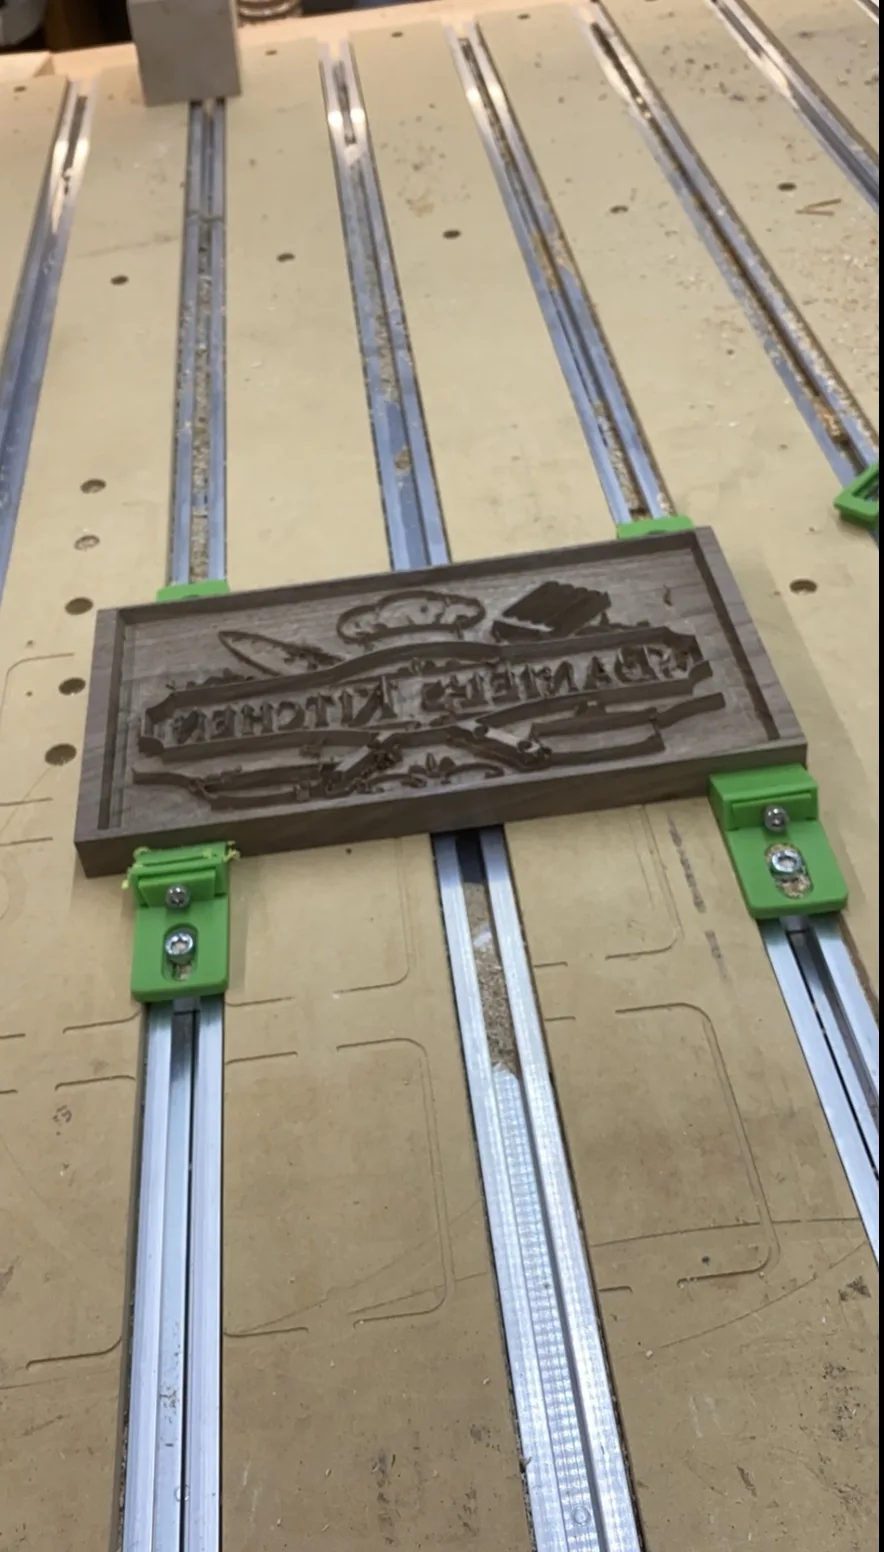
Then I go back to the computer and create a reversed, positive version that becomes the inlay. I find a contrasting wood, which here was walnut, put it in the CNC, and carve the plug that drops into the board. It is the opposite image, so you flip it in the computer and let it cut.
Glue, clamp, and flatten
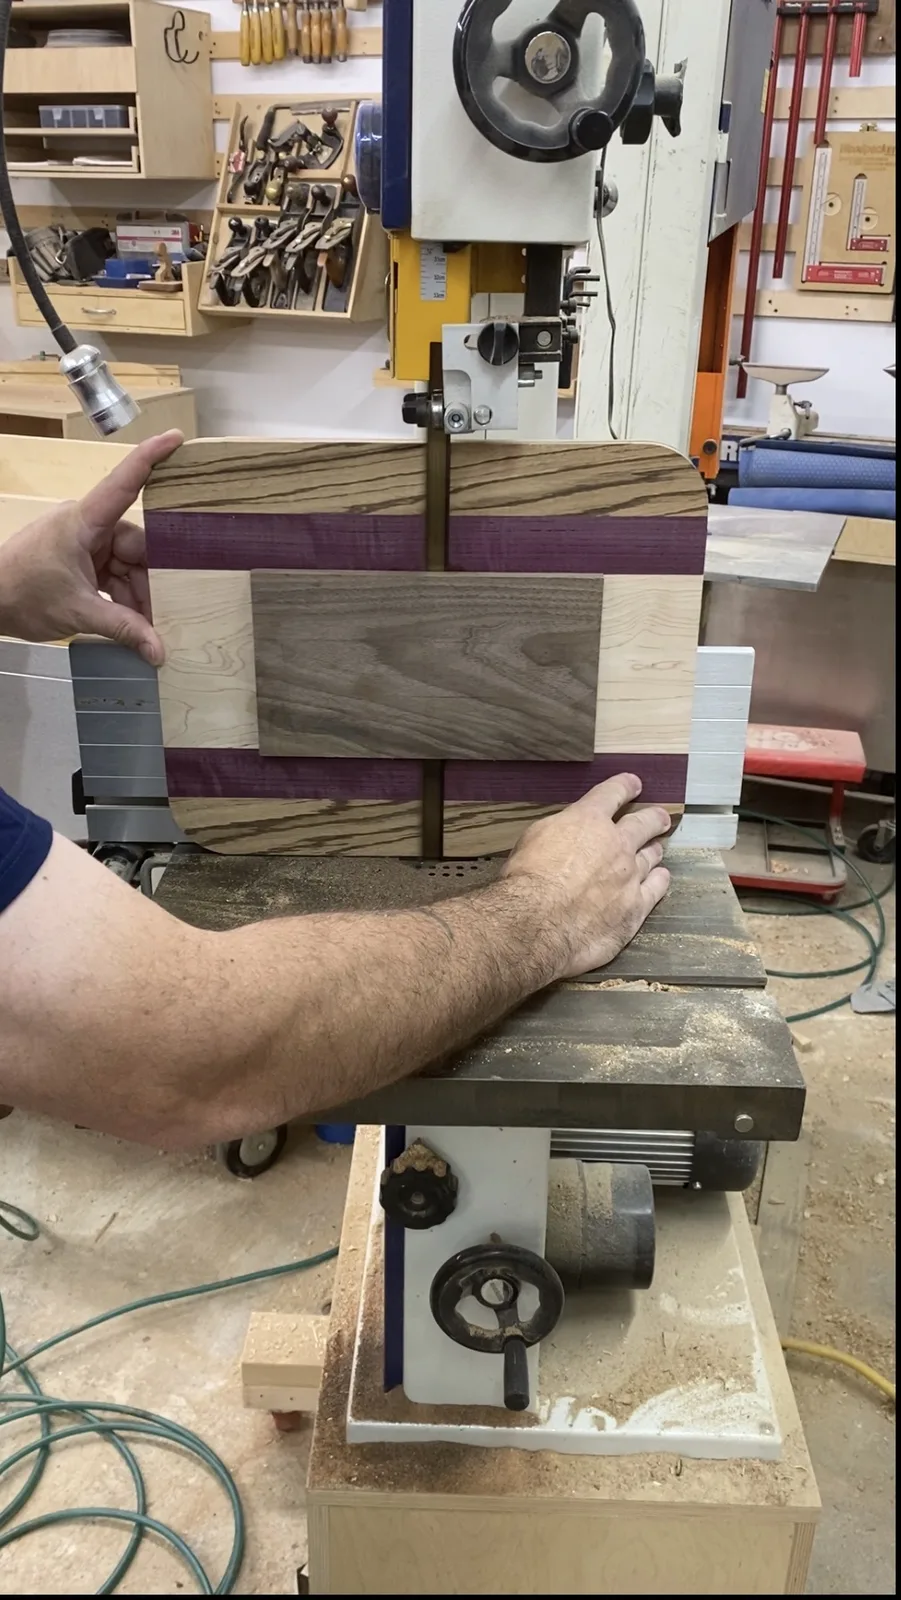
I glue and clamp the plug in place, and once it has cured, take it to the band saw and cut the plug off, leaving just the inlaid parts behind: the walnut set into the maple. Then it runs through the drum sander to get everything flat and smooth and to clear the residue from the plug.
Rounding, sanding, and finishing
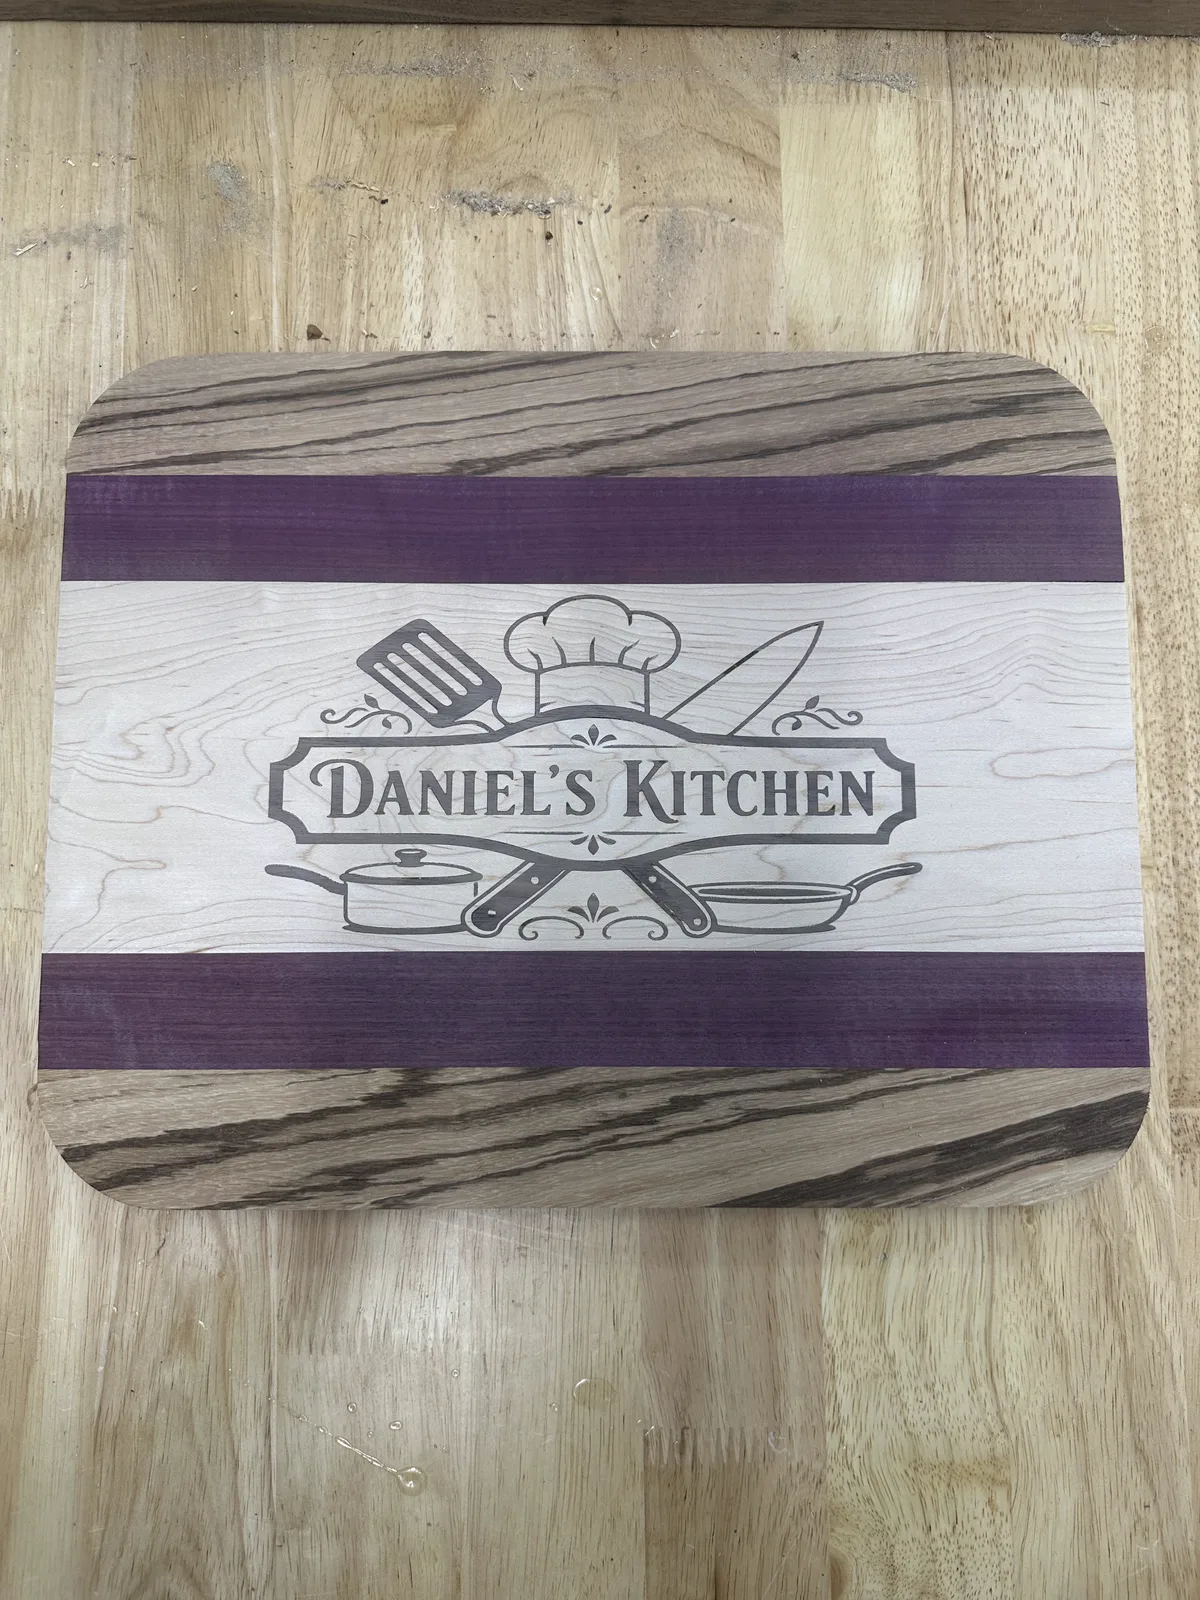
From there it is rounding over the edges and corners, then a lot of sanding, until the board is completely flat and smooth. Last comes food-grade mineral oil: coat it, let it soak in, wipe off the excess, and buff it out. And there you go, a finished board with a really cool, intricate inlay.
I build every piece to last, with the same attention to the wood, the joinery, and the finish that went into this one. If you have something in mind for your own home, whether it is a board, an engraving, or a full commission, I would love to talk it through.
Inquire about a similar pieceBegin a Project
Considering a piece of work for your home?
We take on a limited number of projects each year. Reach out with what you have in mind and we will be in touch to discuss the space, the materials, and the timing.